 Chorium
Docs/Getting Started
Getting Started
Install Chorium, run through the one-time setup, and create your first workspace. No prior experience with Chorium is assumed.
What you need
- A Mac running macOS 15 or later. That's the minimum Chorium supports.
- Git installed. Chorium creates and manages git branches and worktrees for you, so it needs git on your machine. macOS prompts you to install the command-line tools the first time you run
gitif you don't have it. - At least one agent CLI. Chorium drives coding agents; it doesn't include one. Install Claude Code (the
claudecommand) or Codex (thecodexcommand) so Chorium can run it for you. You can add these before or after setup. - Docker is optional. You only need it if you want Chorium to clean up a workspace's containers when you delete it.
First launch: one-time setup
The first time you open Chorium, a five-step setup appears. It walks you through the essentials and never blocks you — if something isn't ready, you can finish anyway and come back to it.
- Connectivity Chorium checks that you're online. This step is informational; it won't stop you if you're offline.
- Agent binaries Chorium looks for
claudeandcodexon your PATH and shows what it found. If a tool lives somewhere unusual, type its full path by hand. Missing one? You can install it later — this step doesn't block setup. - Default agent Pick the agent new workspaces use by default — Claude Code or Codex. You can change it for any individual workspace later.
- Theme Choose System, Light, or Dark. This applies to the whole app and the terminals inside it.
- First project Point Chorium at a git repository folder to create your first project. You can skip this and add a project whenever you're ready.
Create your first workspace
A workspace is where an agent actually works: its own branch, its own copy of your files, and its own terminal. To create one, choose File → New Workspace (⌘ N).
- Name it Give the workspace a short name for the task, like "login form" or "fix signup bug." Chorium turns that into a branch name for you.
- Pick a branch template Choose the kind of work — Feature, Fix, Chore, Experiment, or Change Order. Chorium prefixes the branch accordingly (for example,
feature/login-form). - Pick the agent Keep your default, or choose a different agent for this workspace.
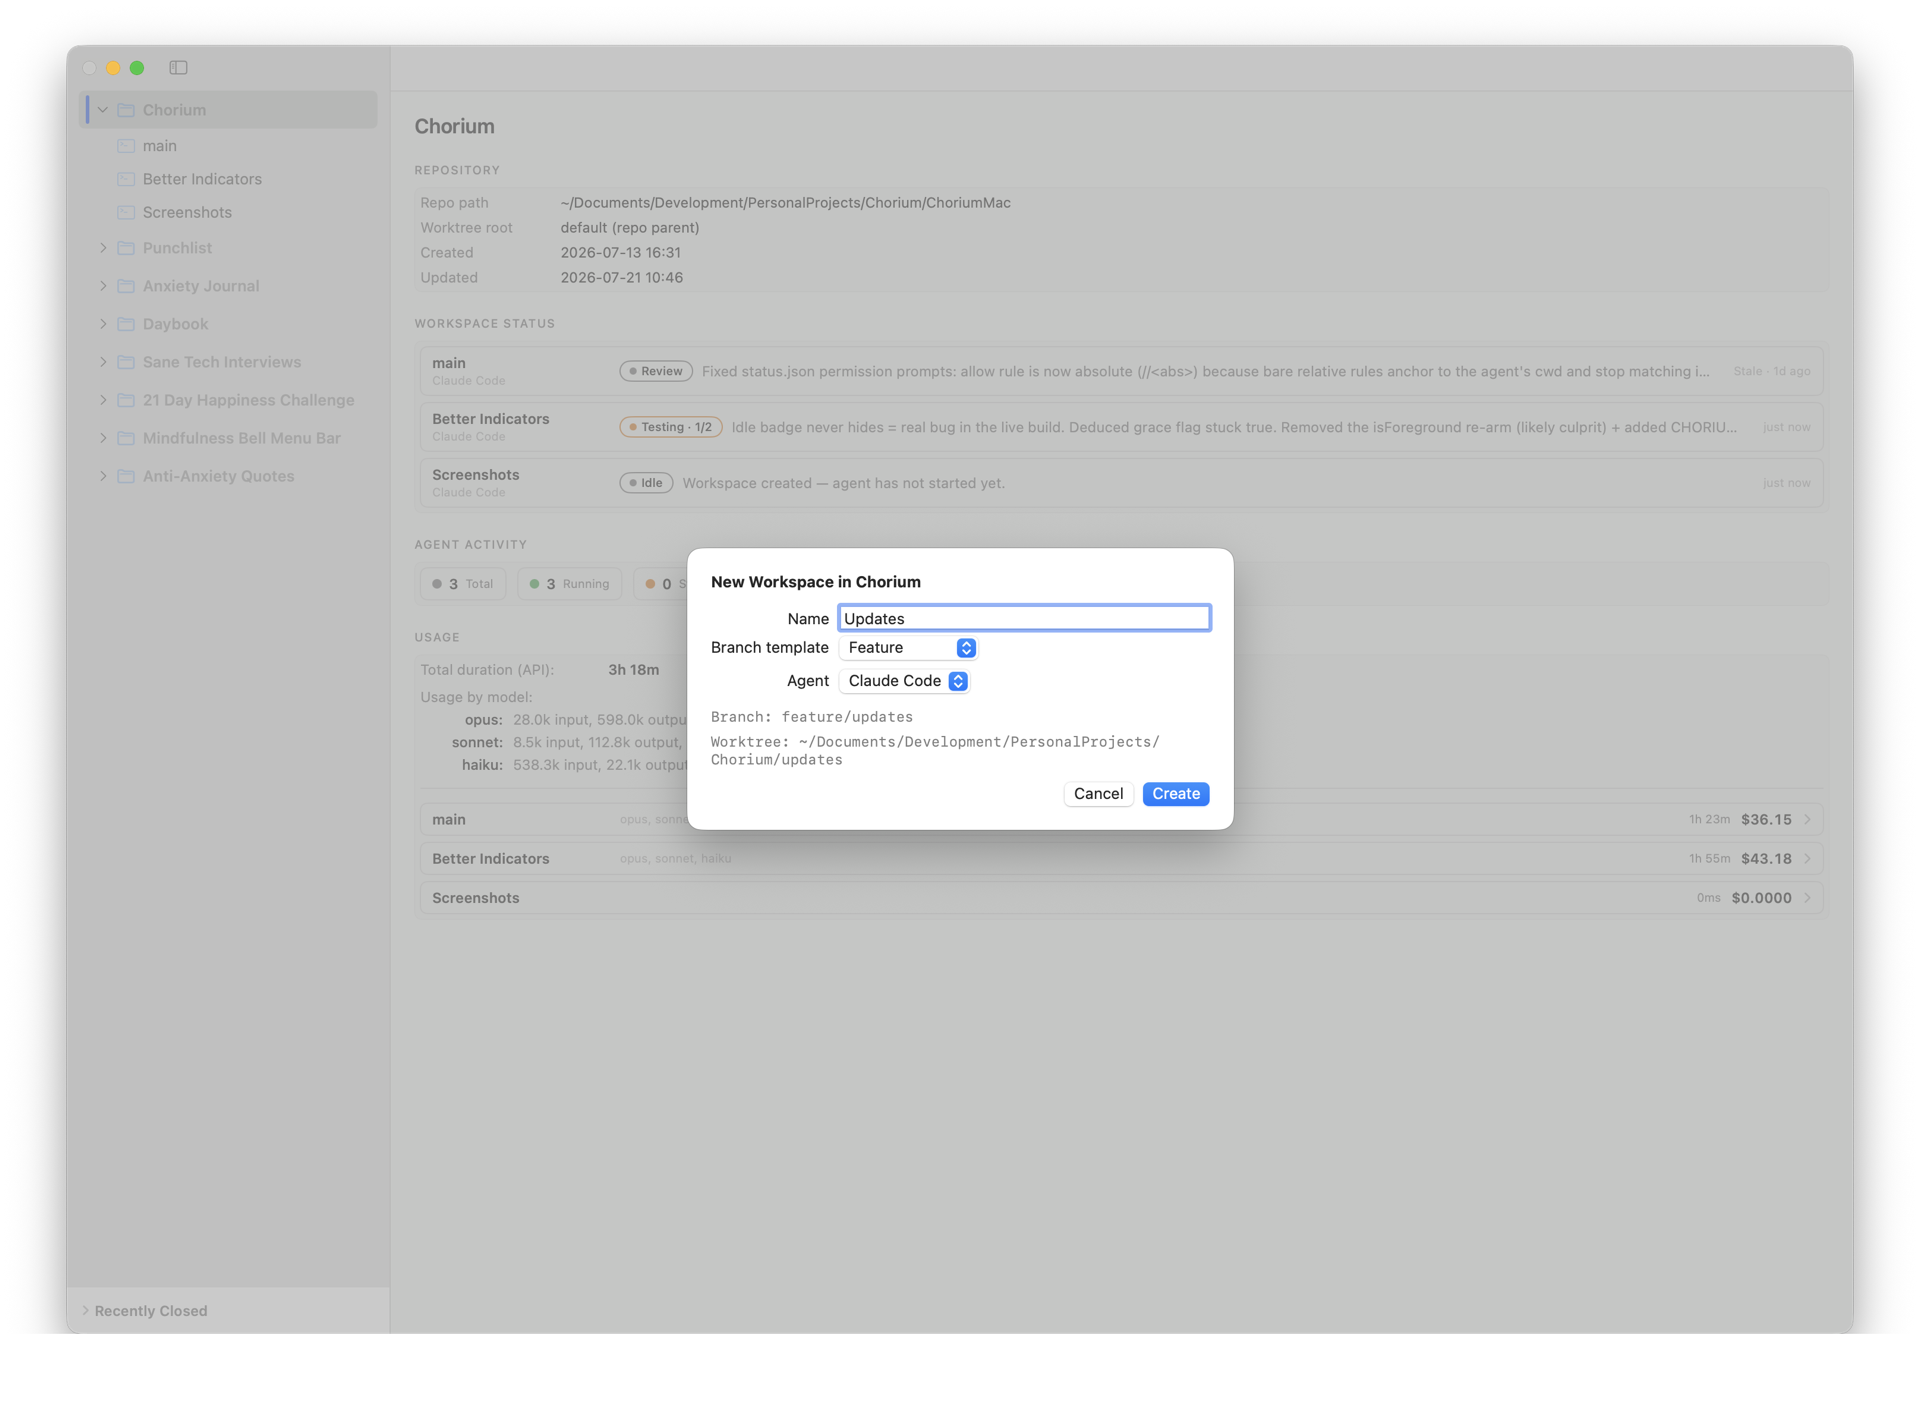
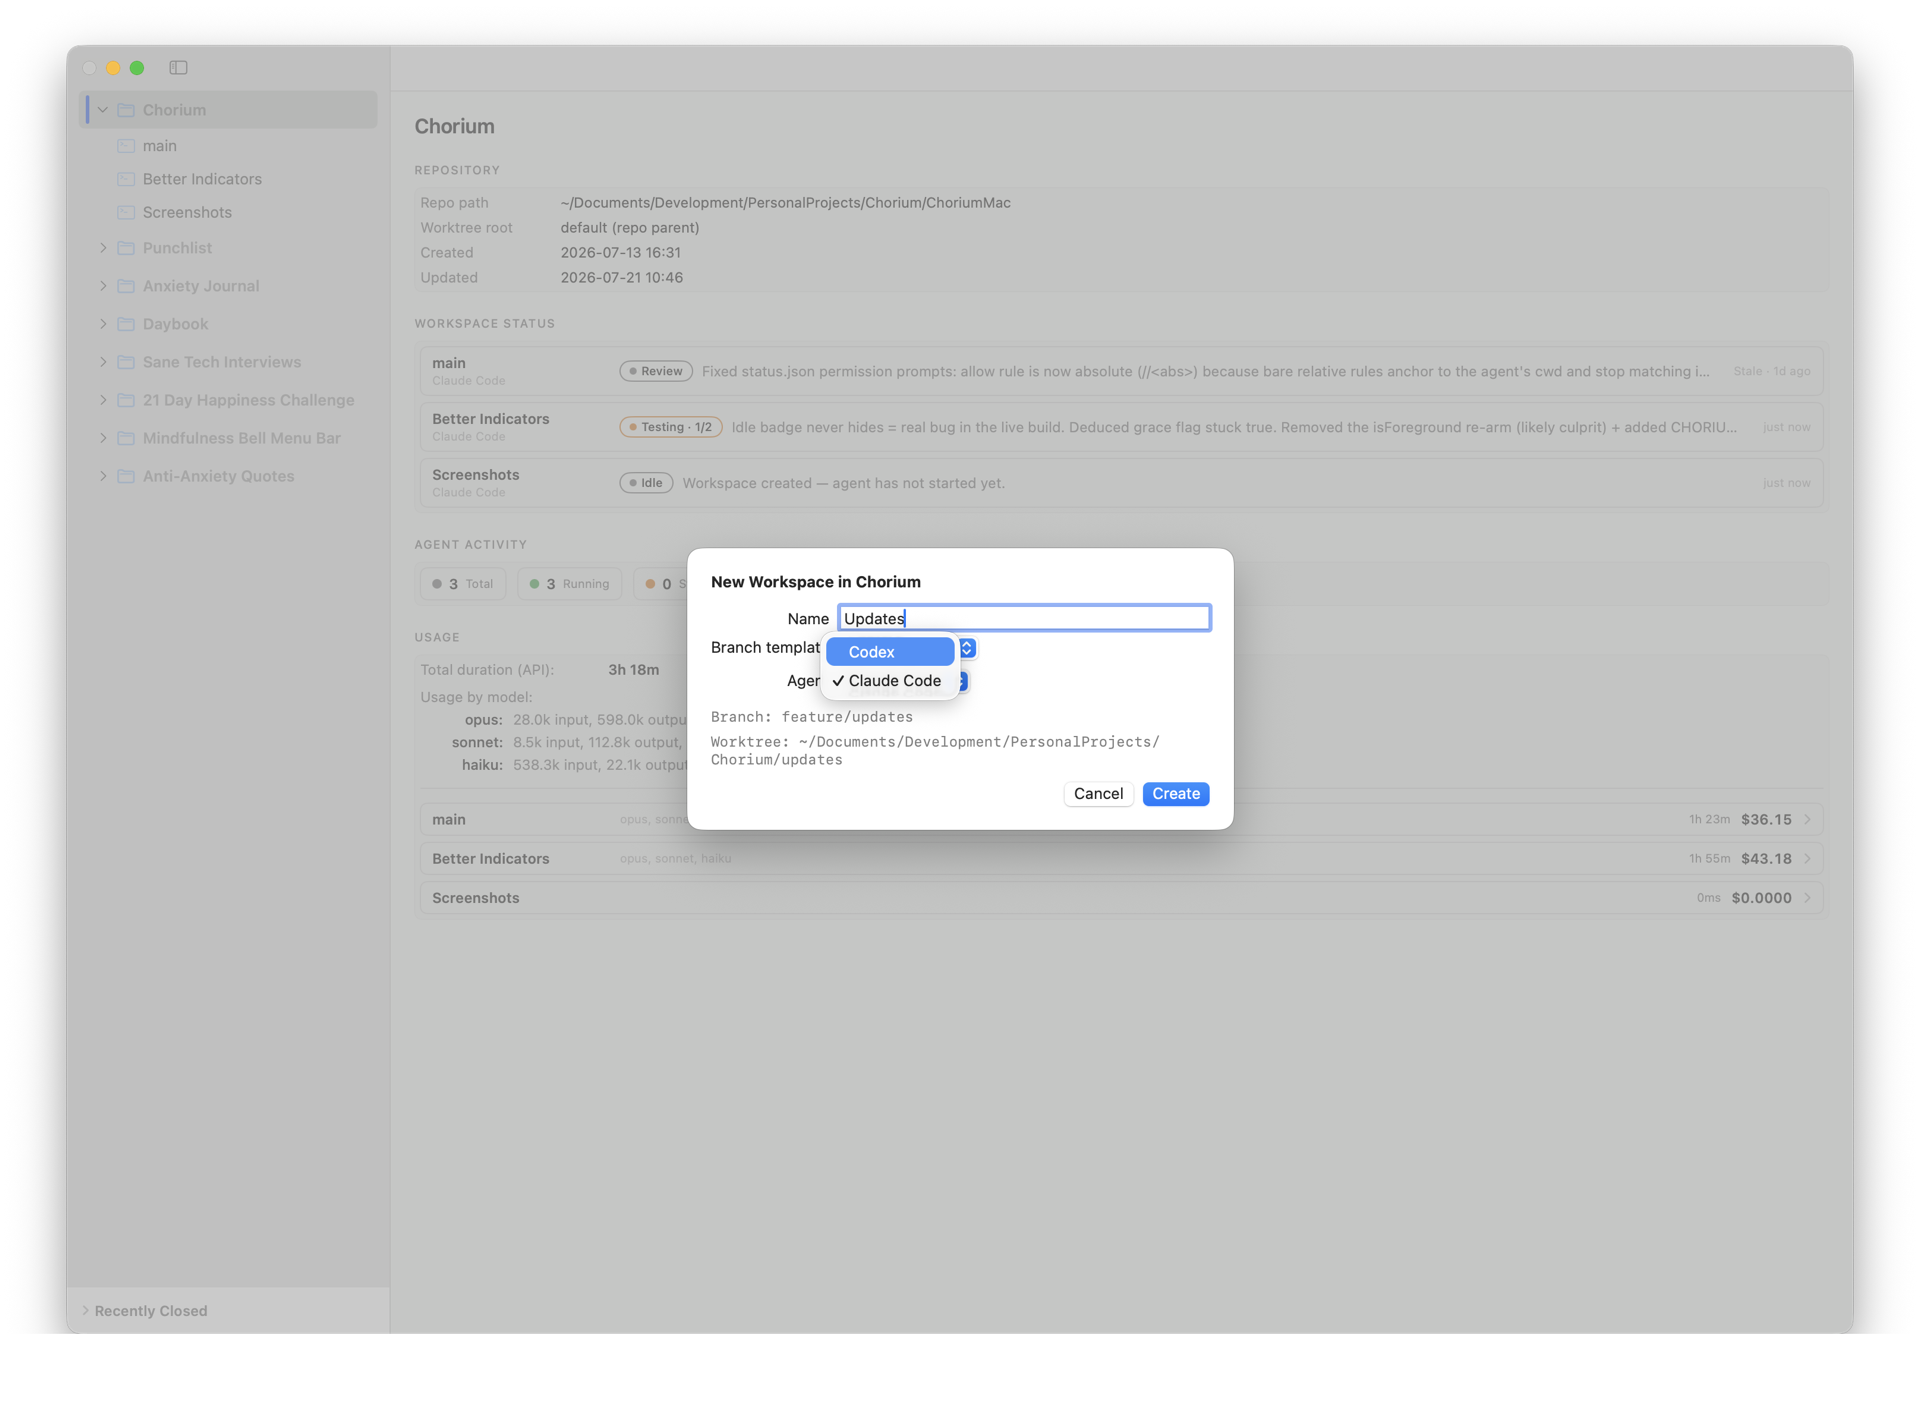
When you confirm, Chorium creates a fresh git worktree on the new branch, opens the workspace, and launches your agent in its embedded terminal. Type your request into that terminal and the agent gets to work. From here, the dashboard shows you what it's doing.